
The three settings
- PrivateOnly you, while you’re signed in. Anyone else who opens the tour’s link sees “The tour you’re trying to view is private.” New tours start as Private, so you can build in peace.
- UnlistedAnyone with the link can view it. Use it to send a tour to a client, add it to a listing, or embed it on a page, without making it public.
- PublicEveryone can see it. Use it for tours you want people to find and share.
Unlisted and Public need a paid plan. On a trial, tours stay Private.
Change who can see a tour
In your dashboard, each tour card shows its current setting at the bottom left.
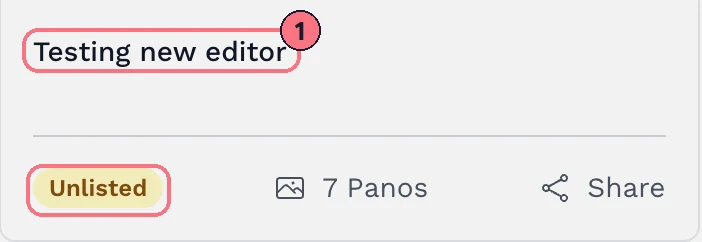
- Click the tour’s name on its card. (The card’s ⋮ menu has the same thing, under Details.)
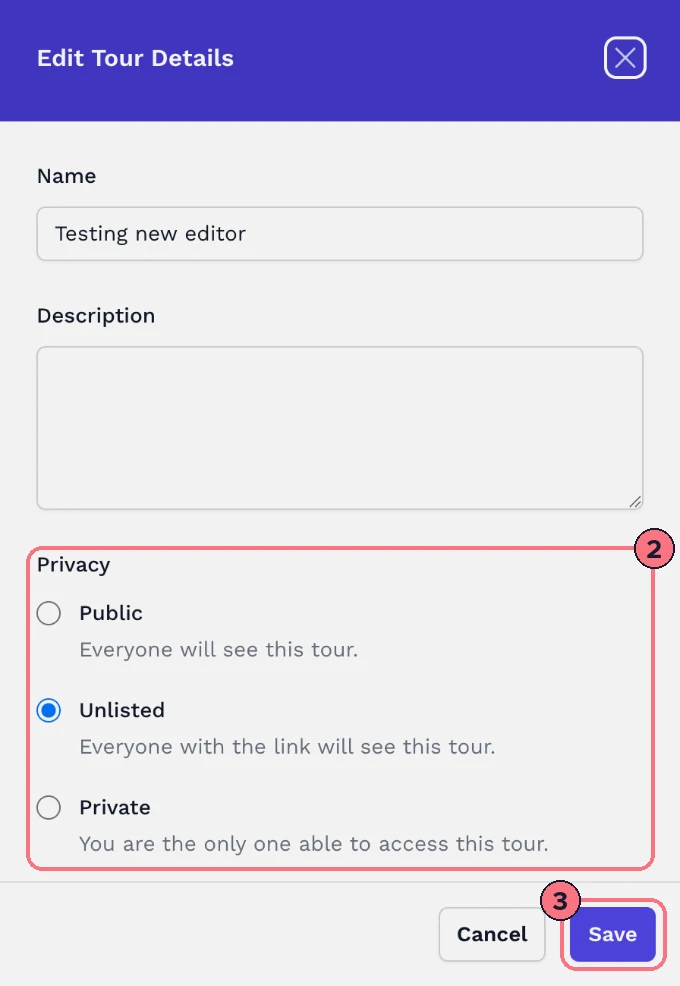
- In Edit Tour Details, choose Public, Unlisted or Private under Privacy.
- Choose Save. The new setting applies straight away.
The Draft / Published switch
At the top of the editor, the switch is a shortcut for the same setting:
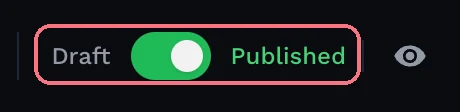
- Draft makes the tour Private.
- Published makes it Public.
An Unlisted tour shows as Published. If you switch it to Draft and back, it becomes Public, not Unlisted. To share by link only, set Unlisted in Edit Tour Details instead. On a trial the switch asks you to upgrade.
Tips
- Need a tour only some people can open? Make it Unlisted and add a password.
- Check what visitors see by opening the tour’s link in a private browser window, where you’re not signed in.
- For MLS listings, see How to add virtual tours to MLS.
Common questions
What’s the difference between private, unlisted and public tours?
A Private tour opens only for you, while you’re signed in. An Unlisted tour opens for anyone with the link, and a Public tour is open to everyone.
Can I share a virtual tour without making it public?
Yes. Set it to Unlisted: anyone with the link can view it, but it stays off your portfolio page, which shows Public tours only. Add a password if only some people should open it.
Can I make a tour public on the free trial?
No. The free trial gives you one tour with every feature, free forever, and the tour stays Private until you subscribe.
Why does my tour’s link say it’s private?
The tour is set to Private, so anyone else sees “The tour you’re trying to view is private.” Change it to Unlisted or Public in Edit Tour Details.